
Compared to regular paraffin candles, soy candles might not seem all that different at first glance. A candle’s a candle, right? The similarities between paraffin candles and soy candles are only surface-deep. There are many reasons why these vegetable oil-derived candles are much better than regular ones. Because they’re made from soybeans, they’re natural and completely renewable. Soy candles also burn longer and cleaner than paraffin ones, producing less black soot once they’ve finished burning. They’re non-toxic as well, unlike paraffin candles which have been shown to release carcinogenic chemicals when melted.
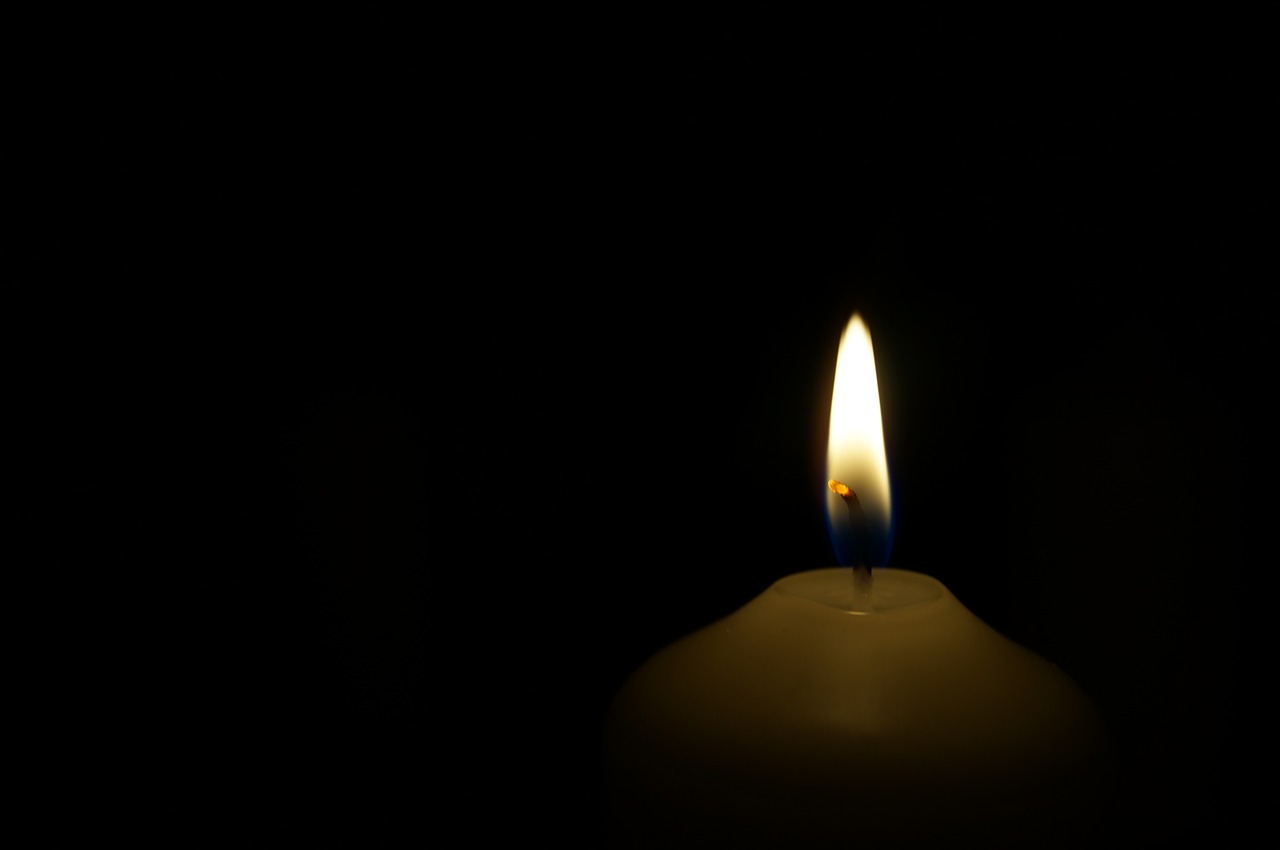
Picture it: you’re enjoying a nice night at home when the power suddenly goes out. You stumble through the darkness to get your box of emergency candles. You light them up them up and wait for the power to come back on. The candles burn quickly and leave soot behind. These store-bought candles will do in a pinch but they could be better. You could do better…and you can by making your own soy candles.
You don’t need anything super fancy to make your own soy candles. You just need a few materials and time. You would need:
- Soy wax flakes
- Containers (Canning jars, normal glasses, and even tin cans will do)
- Tabs and wicks (If you don’t have access to these, rolled cotton is a good alternative)
- Double boiler or two pots
- Optional: wooden spoon
- Optional: scented oils (We recommend lemon and lavender)
- Optional: Aluminum foil
The steps
- Prepare everything beforehand. Melted wax solidifies quickly, so you’ll want to make sure that you’ve have your jars or cans ready. Place your wicks and tabs inside their containers.
- Place your double-boiler on the stove. If all you only have two different pots, fill the larger pot with water a third of the way and then insert the smaller pot inside the larger one. Turn on the heat, bring your double boiler (or pots) to a boil, and then add the soy wax flakes.
- Wait for your soy wax flakes to completely melt. You can stir the melting wax with a wooden spoon to speed up the process. If you want scented candles, this is the time to add the scented oils. Remove the pot from the stove and then stir in your scented oils. For every pound of melted wax, use one ounce of essential oils.
- Once the soy wax flakes have fully melted, pour them into their containers. Don’t fill the containers up all the way to prevent the wax from spilling out. Leave a one-inch margin between the rim of the container and the wax. If you used rolled cotton wool, be sure to add them after you’ve poured in the wax to prevent the steam from making them soggy. Use aluminum foil to center the cotton wool inside their containers.
- Cool down your soy candles and wait for them to harden. It’s best to let them sit overnight at room temperature to prevent the soy candles from cracking.
That’s all it takes to make your own soy candles. These are great to have for around your home because they’ll burn for hours at a time. If you’re planning on making soy candles for camping, it’s best to use aluminum cans and keep them unscented for safety purposes. Otherwise, you’re free to make and use them as you wish.
Sources:
