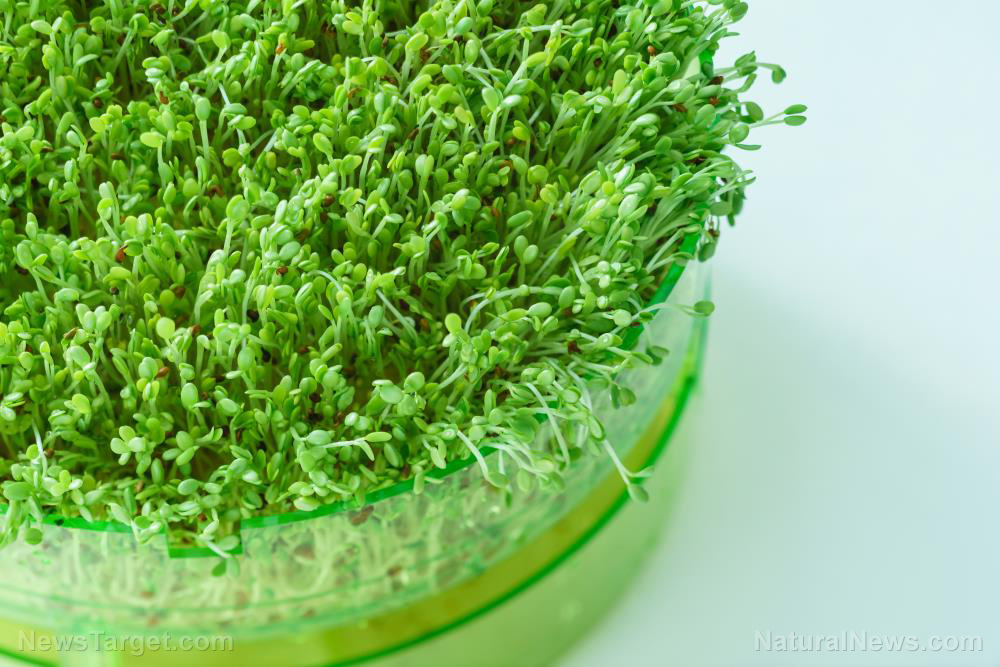
Grow microgreens in your own home with these simple steps
10/27/2021 / By Ramon Tomey

Microgreens may be small, but they are rich in nutrients. They can be added to different kinds of foods to imbue them with texture and nutrition. Microgreens can also be grown indoors without the need for extra effort.
These quick-growing vegetables are packed with many beneficial substances. Most varieties are rich in antioxidants and minerals. Given their small size, microgreens often have concentrated nutrient content, even surpassing the nutrient content of mature greens. (Related: Mighty microgreens: young vegetables found to be full of minerals.)
Follow the steps below to grow microgreens.
Start with the right seeds and soil
It is best to choose a microgreen variety that will be consumed frequently. Once chosen, the seeds should be soaked for at least eight ours before planting.
Proper soil plays a role in growing microgreens – better soil results in better yield. Soil composition, aeration and water retention are some things to consider. Potting mixes are suggested to save time as they have the right elements microgreens need to sprout.
Use an appropriate container that drains water
When looking for a container to grow your microgreens, it is important to find one that has holes at the bottom. This is where water will drain instead of accumulating in the container – which is bad for microgreens.
Fill the container with around one inch of soil or potting mix. Sprinkle water on the soil and flatten it afterward, but do not compact it. A trowel is highly suggested for this, but a piece of cardboard will do.
Sprinkle the seeds
Scatter the seeds of the microgreens evenly on top. The seeds should be sprinkled evenly on top, with at least a quarter-inch space between them. Cramping seeds together in a small space will limit their growth.
Add potting soil on the top of the seeds. You may also use vermiculite, a mineral-based material that slowly absorbs and releases water. It will keep the soil and seeds damp but not soggy.
Keep things moist and hydrated
When the seeds are topped off, they should be given a light shower using a water can or spray bottle. The goal is to moisten the soil surface, not drown the seeds in water. Too much water can inundate the seeds and prevent them from sprouting.
Another good technique is to water from the bottom. Fill a larger container with water, lift the pot and put it in the water. Take it off once the soil on the top starts getting damp and wait for the water to fully drain.
Adequate lighting is key
Just like any vegetable, microgreens need sunlight to germinate and sprout. This is a major challenge for others growing microgreens indoors. Fortunately, there are lighting solutions that can help.
LED lights are one option to use for microgreens. LED strip lights are readily available, easy to use and do not consume a lot of energy. Metal vapor lights used by commercial growers are also suggested, but they are more expensive than their LED counterparts.
Ready for harvest
Microgreens will sprout with enough time and patience. There are two phases when microgreens can be harvested. (Related: Powerful, inexpensive nutrition at home: Microgreens are easy to grow.)
First, they can be harvested as soon as the cotyledon, or first leaf, appears. Alternatively, they can be harvested as soon as their true leaves appear – usually two weeks after planting. Harvesting microgreens is best done early in the morning or at night. Use a pair of clean scissors and cut at least an inch above the soil.
Once harvested, microgreens must be washed and dried if they are to be consumed immediately. If they will be consumed at a later time, they should be dried thoroughly before being stored in the refrigerator. Microgreens are good for up to a week when stored inside a plastic bag or a covered plastic container.
HomeGardeningNews.com has more articles about growing microgreens and other plants indoors.
Sources include:
Tagged Under: clean food, food independence, functional food, green living, home gardening, homesteading, how-to, indoor gardening, microgreens, off grid, organics, preparedness, survival, sustainable living, tips
RECENT NEWS & ARTICLES
COPYRIGHT © 2017 PREPAREDNESS NEWS


